Accessing object properties
Any referenced datasets can be downloaded from "Module downloads" in the module overview.
Video quiz
Step-by-step:
You can access the specific properties for individual drainage system objects to look at it in further detail.
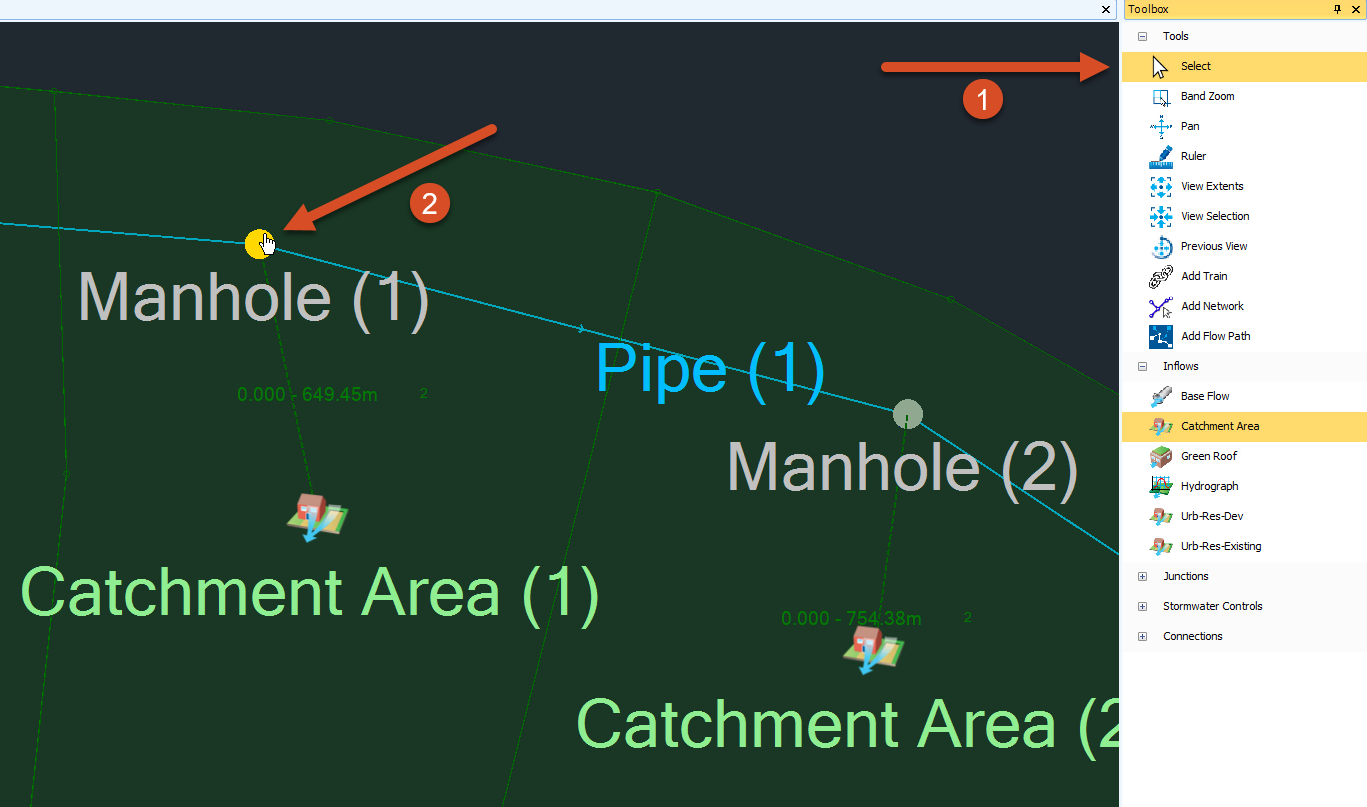
- In the Plan View, zoom in on the object you want to view the data for, such as Manhole (1).
- In the Toolbox, ensure the Select tool is active.
- In the Plan View, double-click Manhole (1).
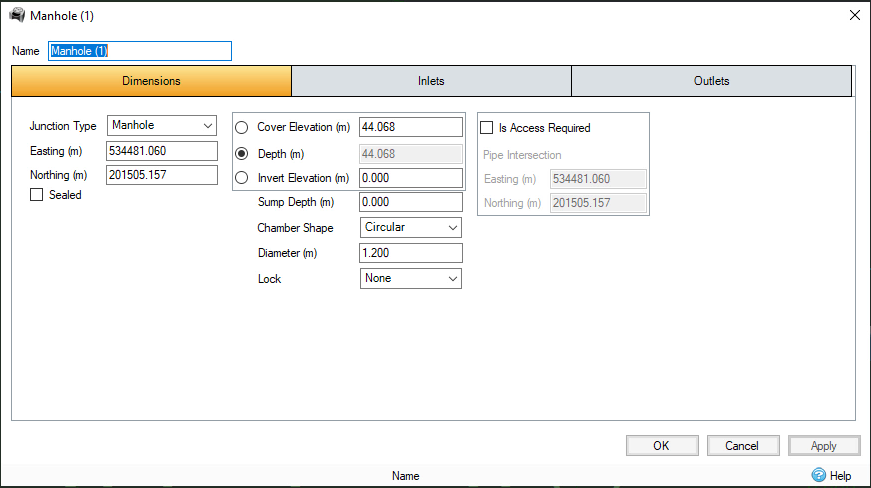
- The Manhole (1) dialog box opens. Review the object properties for the selected manhole.
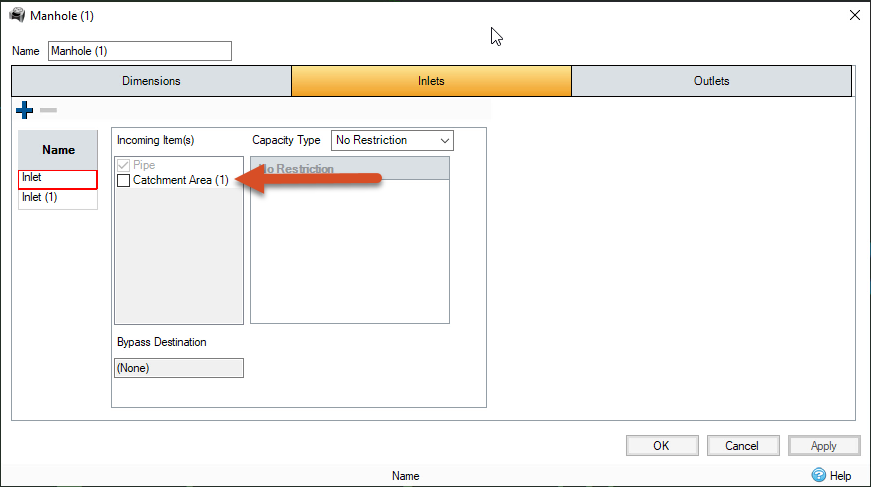
- Click the Inlets tab. Here, you can see that Catchment (1) is the only inlet assigned to it right now.
- Click the Outlets Here, you can see that Pipe (1) is assigned as the only outlet.
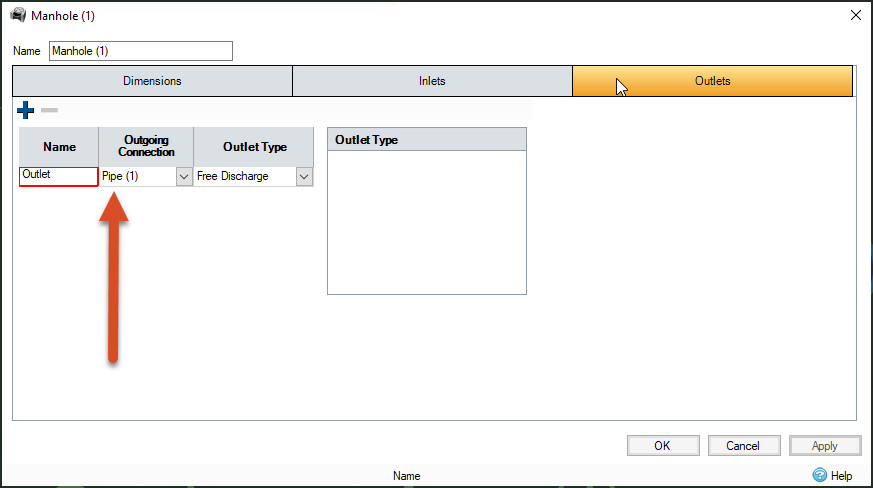
- Click Cancel to close the Manhole (1) dialog box.
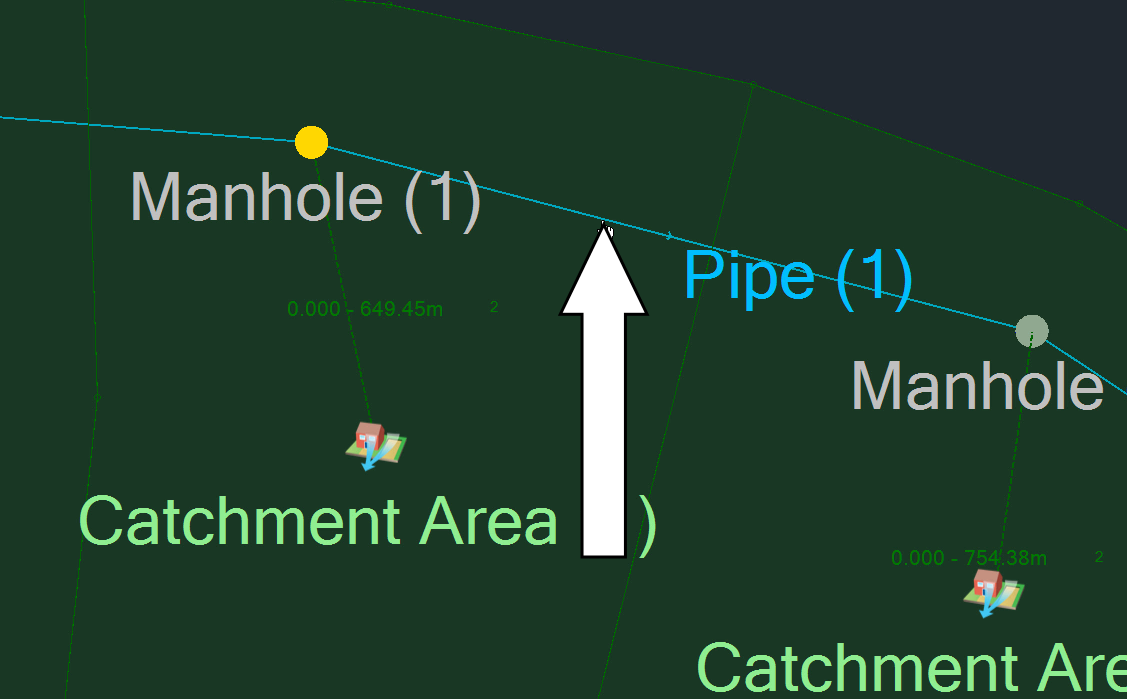
- In the Plan View, double-click Pipe (1).
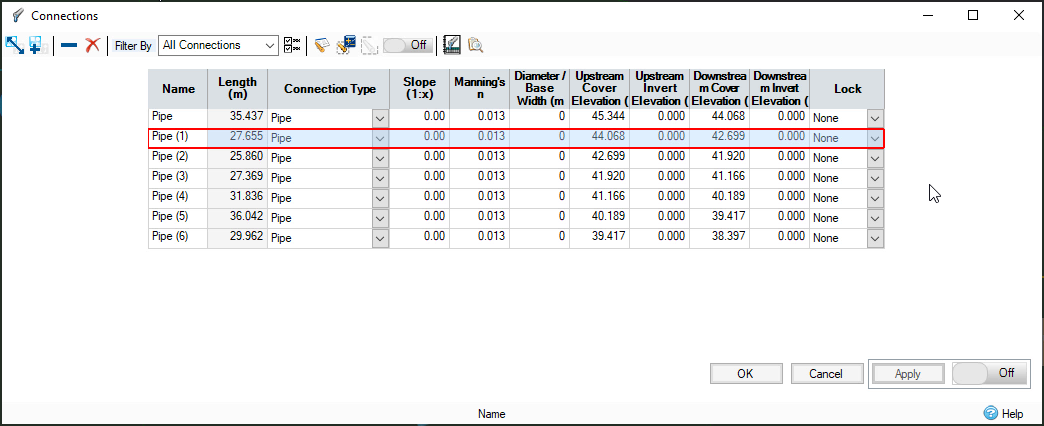
- The Connections table appears. Notice that all the pipes are listed, not just the pipe you double-clicked. However, the pipe you selected is highlighted in the table.
- Click Cancel.
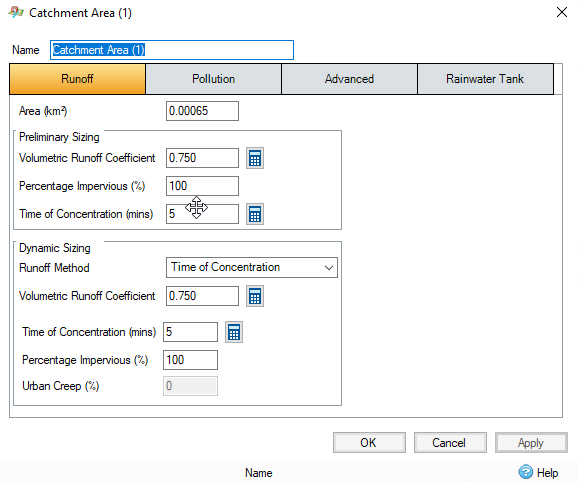
- In the Plan View, double-click the Catchment Area (1) icon.
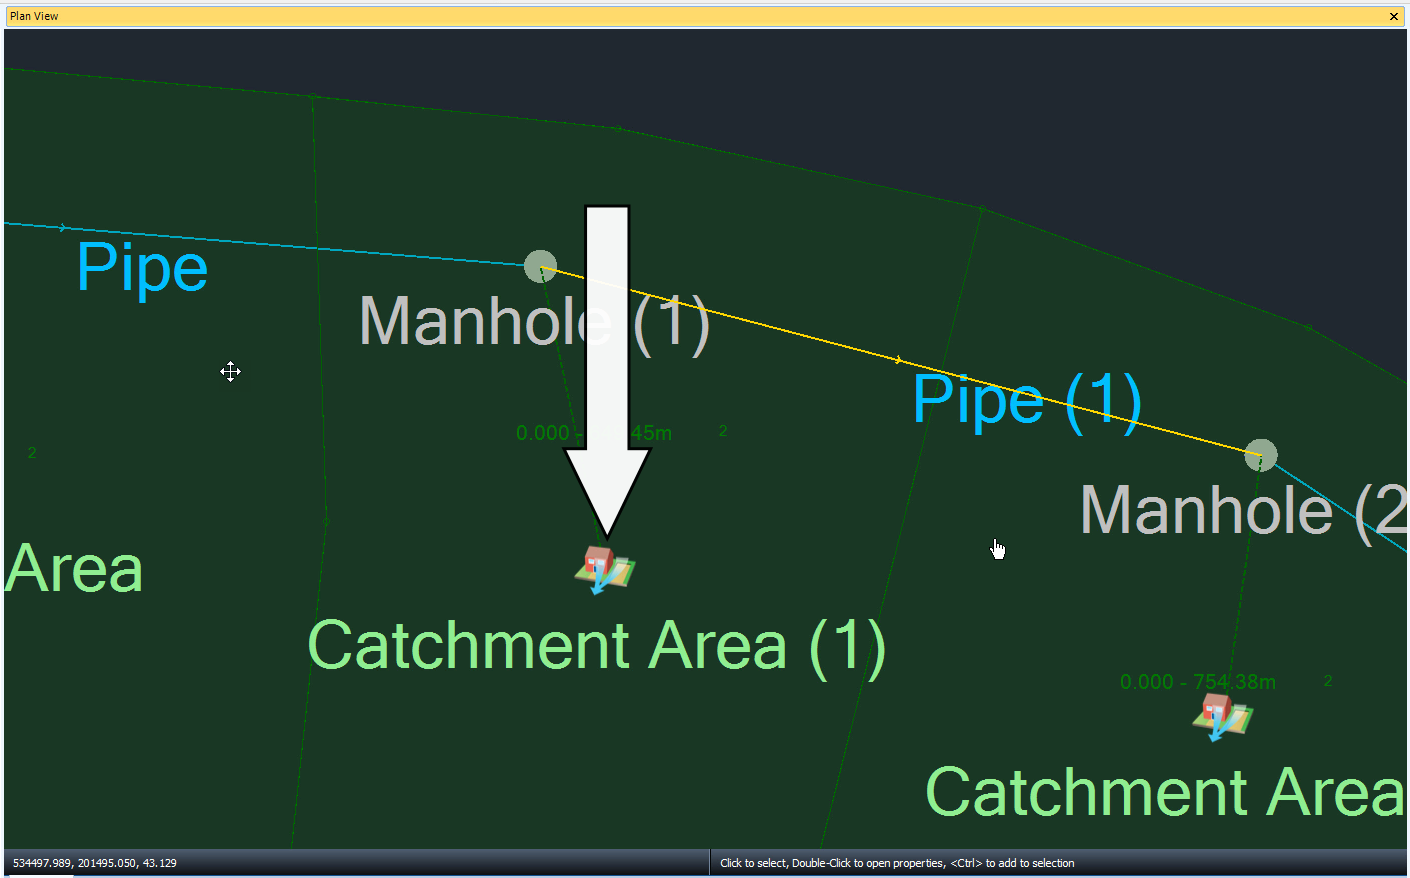
- The dialog box for the catchment area opens, with the Runoff tab active where you can access the data you need.
