Planning for emergency overflow
Design and incorporate an emergency overflow into a drainage system model.
Tutorial resources
These downloadable resources will be used to complete this tutorial:
Step-by-step:
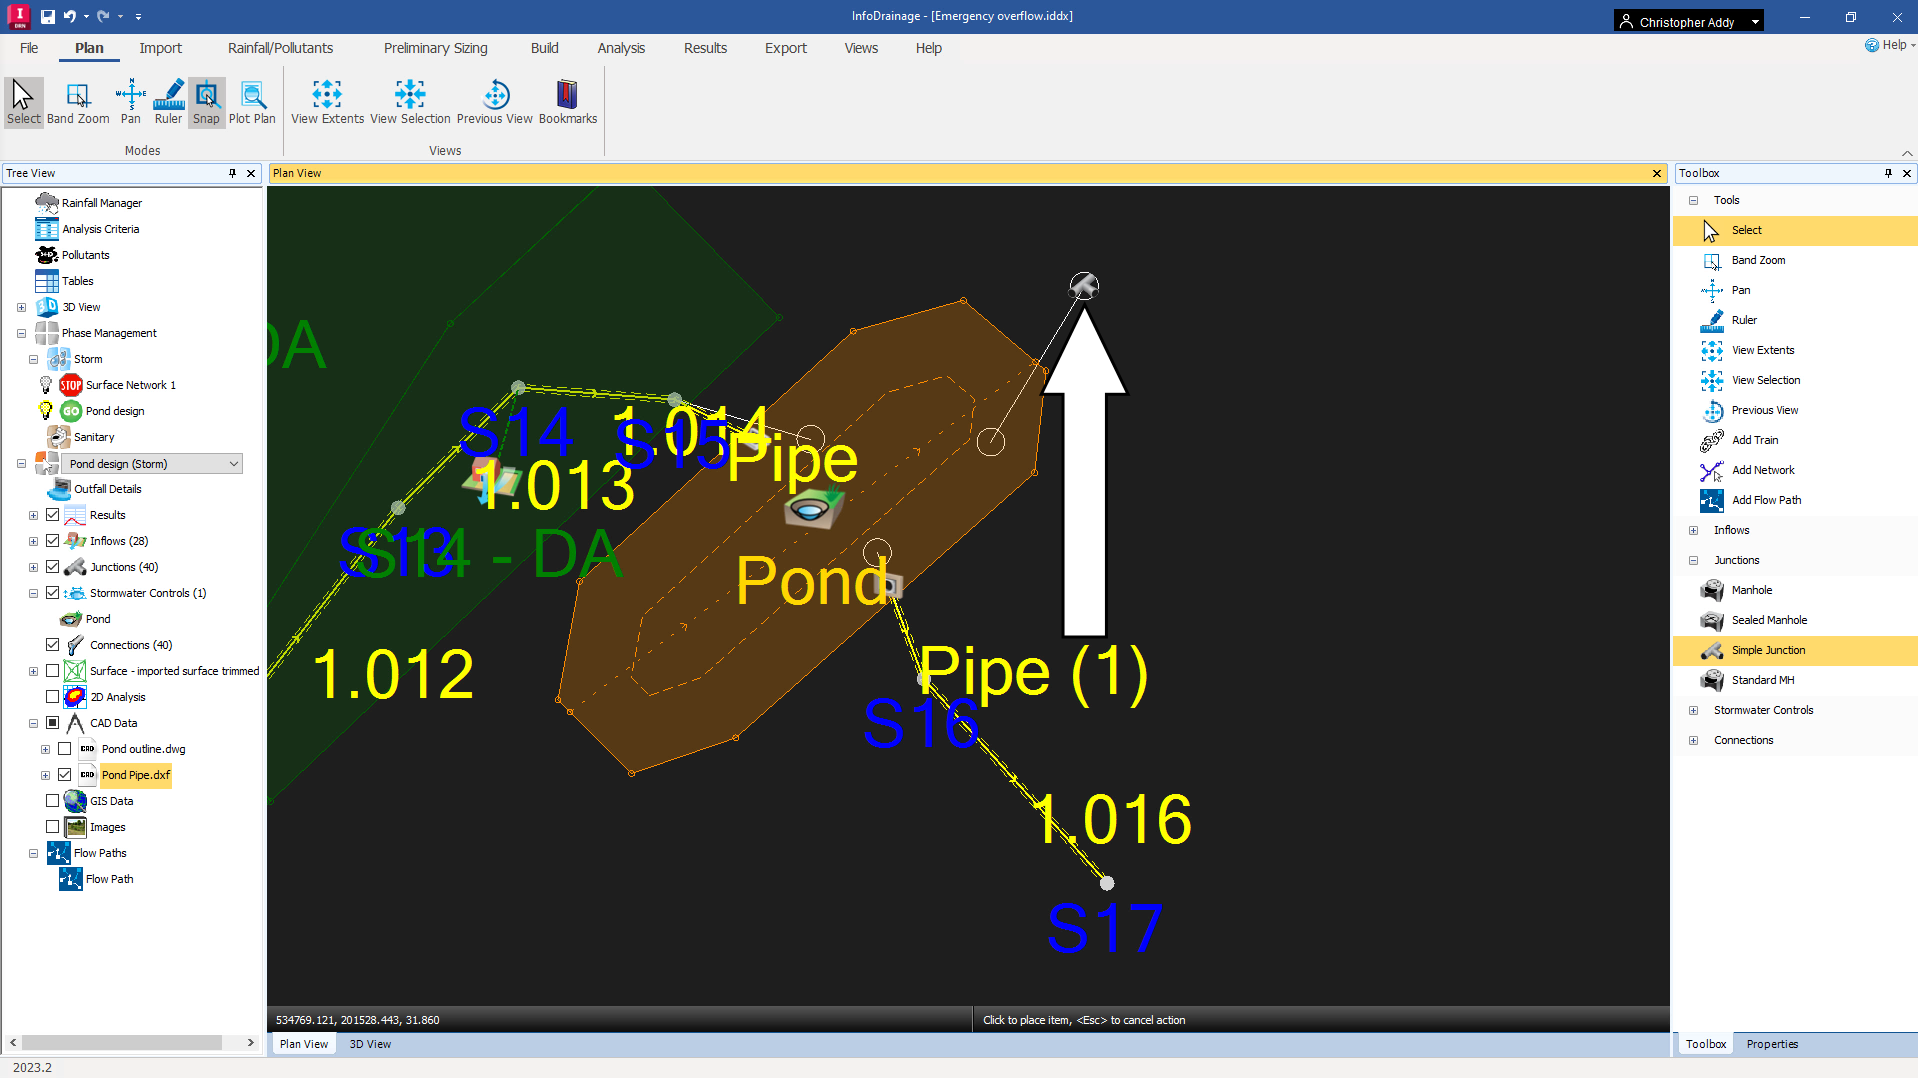
After a pond has been designed and incorporated into a drainage system model, an overflow system can be added. Once a pond fills up to the top water level, as established in your design and rainfall event criteria, an emergency overflow decreases the potential for localized flooding during heavier rains by giving excess water a place to drain into.
- Open a project file that contains a designed pond.
- In the Toolbox, expand the Junctions node and select Simple Junction.
- Click and drag the Simple Junction icon and snap it to the node just outside the pond.
- In the Toolbox, expand the Connections node and select No Delay.
- Click and drag the No Delay connection and snap it to the point inside the pond’s boundary.
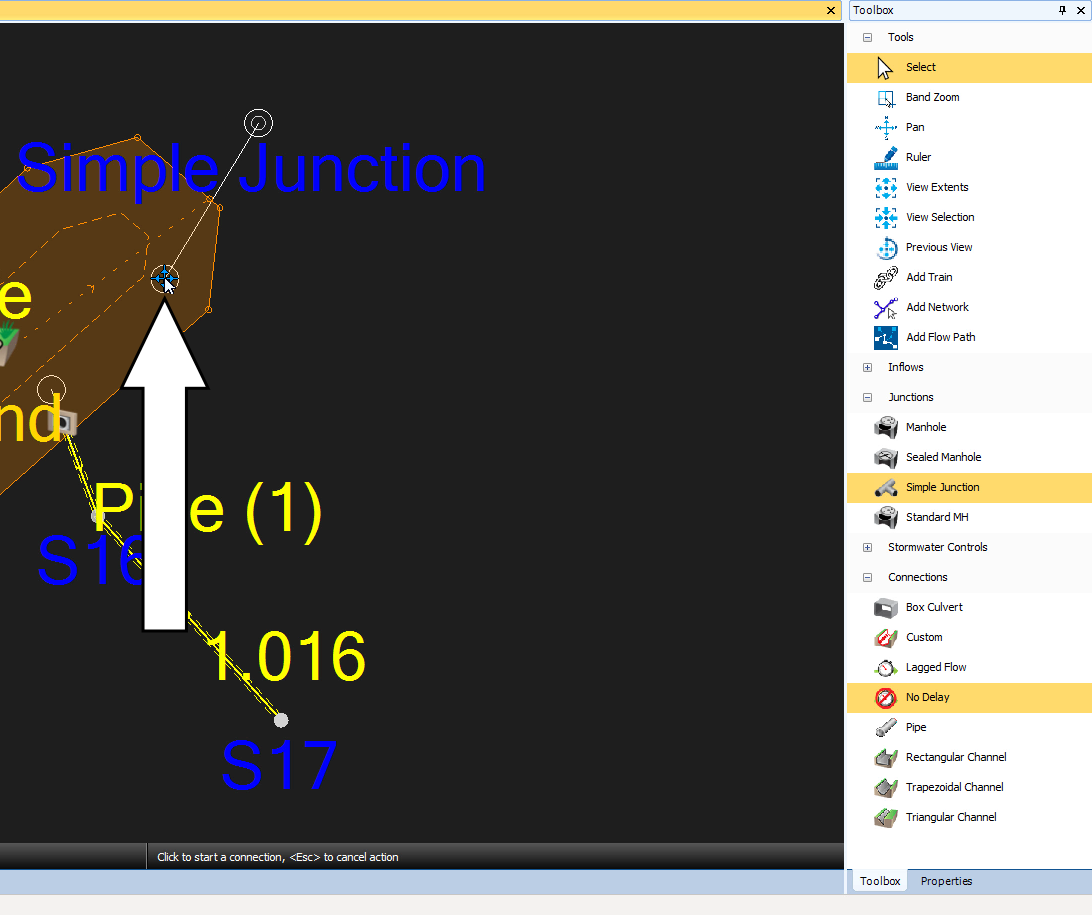
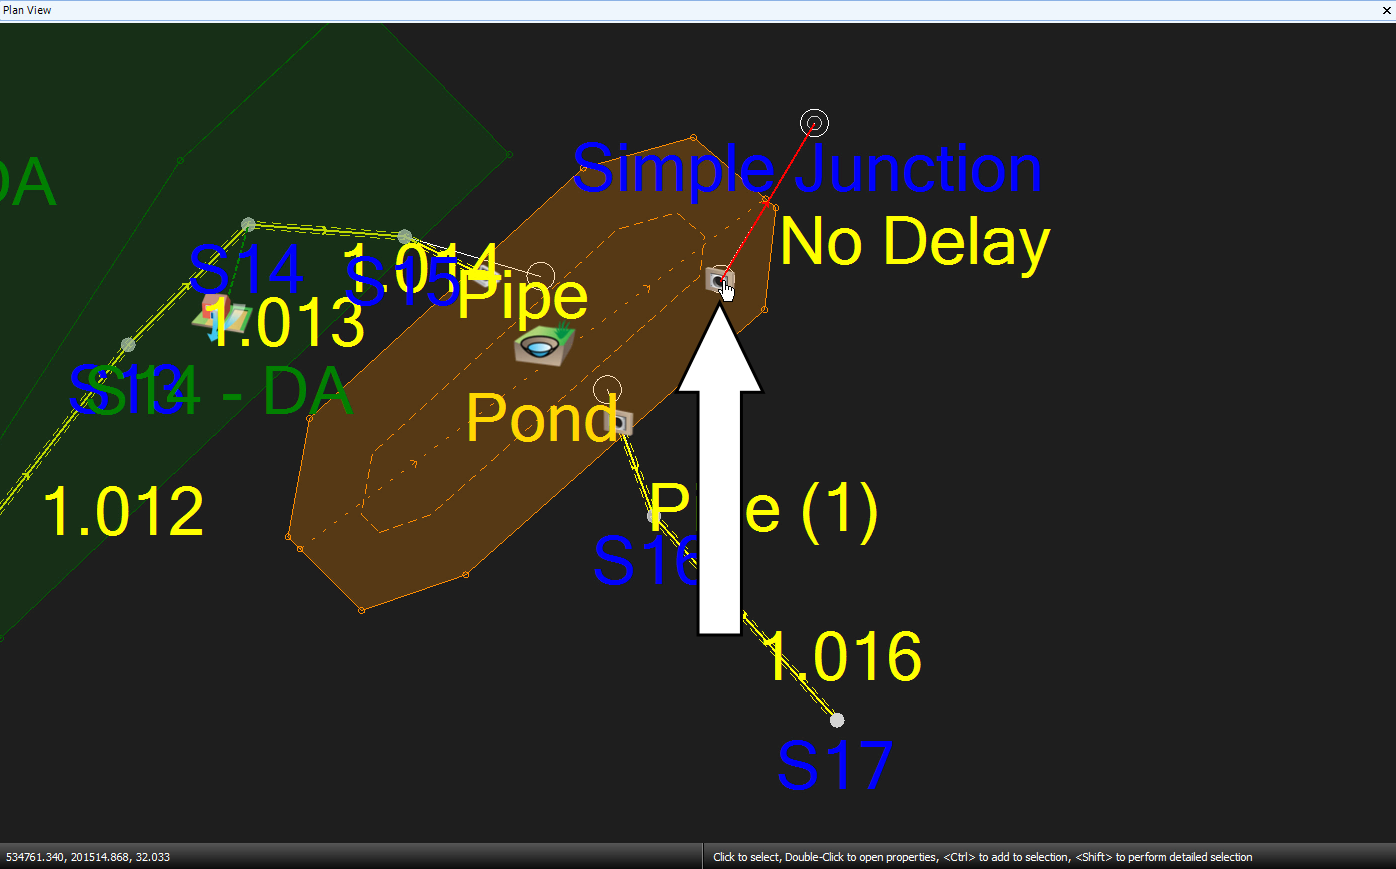
- Outside the pond, click the Simple Junction point you just created to complete the connection.
- Click the Select tool.
- Inside the pond, double-click the new outlet icon to view its properties.
- In the Pond dialog box, Outlets tab, expand the Outlet Type drop-down for Outlet (1) and select Weir.
- In the Weir properties group box, set the Crest Elevation to 32.109 meters, which is the freeboard level of the pond.
- Set the Width to 3.00 meters to be wide enough to catch overflow.

- Click OK.